The APN Guide: Temperamental Weather and Sky

16 min read

Deviation Actions

Mouselemur's avatar
By
Published:
2.7K Views
AnimalsPlantsNature
Your Home for APN Photography


Every time you go outside to take a photo, the most important natural aspect you consider is  the natural light. This does not simply depend on the time of day you choose to photograph - the weather is the largest factor. It can be cloudy, sunny, foggy, rainy or stormy; each and every one of these weather conditions will influence the kind of sky - and often the light it allows to shine - on your subject.

But what if it you're focusing on weather and sky?

Whether you're shooting Flowers, Trees and Plants, Landscapes or Waterscapes, you'll have to angle your camera just right so as not to get a shot of the sky in. You'll often see sunbursts and clouds - let's say, good weather photos. However, we've all encountered those days when the weather just won't turn in your favor. Or does it?

Here's to taking a look at what you can do, as a photographer, with temperamental weather conditions and a moody sky.

Here Comes The Sun


The sun is, without a doubt, one of the largest aspects of any photo. After all, you depend on the large orb to shine its natural light over your chosen topic. Instead of capturing all its light illuminates of the land, you might want to turn around and see what it highlights in the sky itself.

Sunbursts and flares


The sun is generally a point source of light, as it is often too bright and overwhelming to create a sun flare. The best time capture sun flares is when the sun is low in the sky, either in the early morning or late afternoon. The Winter season is ideal for sun flares, as the sun is lower in the sky for longer periods of the day.

If you want to successfully capture a sun burst or flare, you will want to compose your shot in such a way that the sun itself is partially obscured behind another object. If it is too bright, it can overwhelm your scene and create large, bright patches rather than the starburst shape. You will want to use a narrow aperture, such as f/22 and a relatively wide focal length, like 18 mm.

With a narrow aperture, the blades inside your lens close down to create a very small opening for light to pass through. This narrow opening creates a slight diffraction or bending of the light, which causes a point source of light to become a starburst shape, when it hits and is recorded by the camera's sensor.

For settings, you want to start by shooting in Aperture priority (AV or A) mode and setting your aperture to f/22. You also want to shoot at a fairly low ISO, around 100-200, to avoid the increased noise of higher ISO values.

In lower light situations, your shutter speed may become so slow that you need a tripod to ensure a steady shot. If you are photographing starbursts after dark, then your shutter speeds will generally be slow enough to require a tripod or other stable surface. 

Stand Ablaze by lilfairywren
A sinister-looking aurora over Iceland by Earth-HartEven the darkest night will end by MGawronski

The sun and sky


On a clear day, the sky can appear a deep blue in one area, and pale blue in another. This all depends on the position of the sun at that time, and your angle in relation to it. When you look or point your lense towards the sun, the sky gets brighter and it color washed-out. If you shoot away from the sun, the sky's color and shade will become darker.

You find the darkest part of the sky by turning your back to the sun and lifting your hand. Point your thumb towards the sun and extend your index finger - it will point towards the darkest part of the sky.

If you use automatic metering, step down your exposure a bit by adjusting the EV (Exposure Value) to the negative. Take another picture at -.5, another at -1, another at 1.5.

If yo use manual metering, level out the meter as you usually would. Then bracket by shooting 3-4 successive pictures at increasingly smaller apertures (higher f/stop).

This all will deepen the color tone of your sky, though it will also make the other content in your photo dark and can increase the contrast of shadow. A polarizing filter will become your friend in cutting out glare and haze from reflecting surfaces. It can also deepen the color of a blue sky and make other colors pop.

midnight sun by KariLiimatainen
Alluvion sun by TrichardsenGhosts of the Sun pt.XIV. by realityDream

Singing In The Rain


Rain becomes more visible when it is backlit. The light coming through the raindrops is concentrated and slightly brighter than the rest of the scene. You'll want to find some light source and shoot toward it, like the sun just breaking through the clouds or an artificial light.

Be cautious of the shooting too directly into the light source, for it could overpower your exposure. You'll want to seek the magic angle in between. In case you're standing outside and are protecting yourself and your camera with an umbrella, this umbrella can be used as a serviceable lens shade.

If you turn down your flash to -3.0 stops, it will add a bit of pop to the raindrops. You'll probably need to experiment with it a bit before you get the desired effect - and coincidentally the technique also works on snowflakes.

Orange by m-eralp
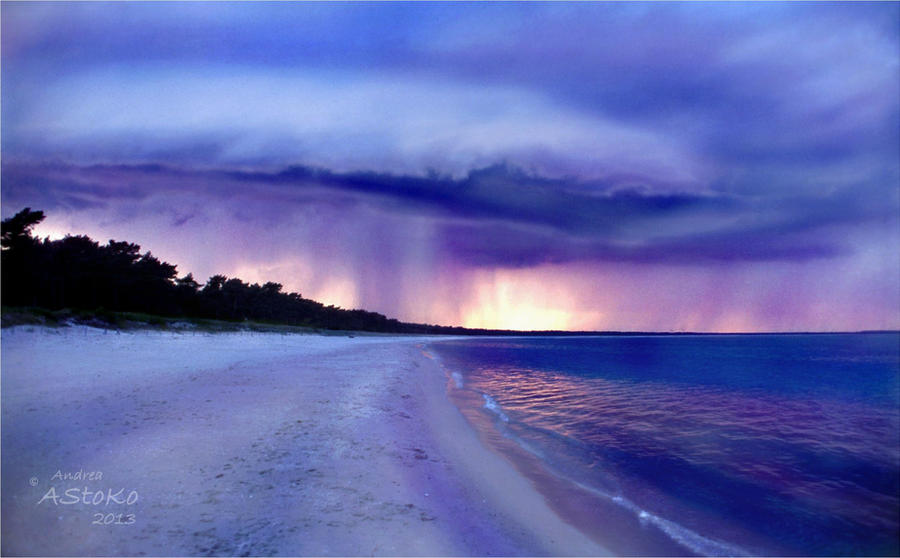
impressions by werolRain by AStoKo

Dancing In Fog


The every day air is filled with water vapour; when temperatures drop to lower digits, these droplets can condense and thus form mist. When this mist becomes very dense, we call it fog.

Mist and fog are mostly likely to form when a reasonably mild day is followed by a long, cold night - highly common during the months November through January.

Mist can make for a cozy blanket in the folds of the lands in the early hour of the day; you'll want to find a high vantage point and use a long telephoto lens to compress the mist banks and aim for maximum impact.

Fog on the other hands, is most likely to appear during chilly evening hours, and can distinctly separate foreground tones from those more distant. You might want to add something close by from where you're shooting to add a bit of weight to your photo.

Shooting fog is also one of those few instances where adding a tad of grain through your ISO choice, will add depth and an extra layer of credulity to the circumstances you're shooting in.

Fog Implosion by OlivierAccart
A city lights in winter by NorbertKocsisHorses in the Mist by Betuwefotograaf

Over The Rainbow


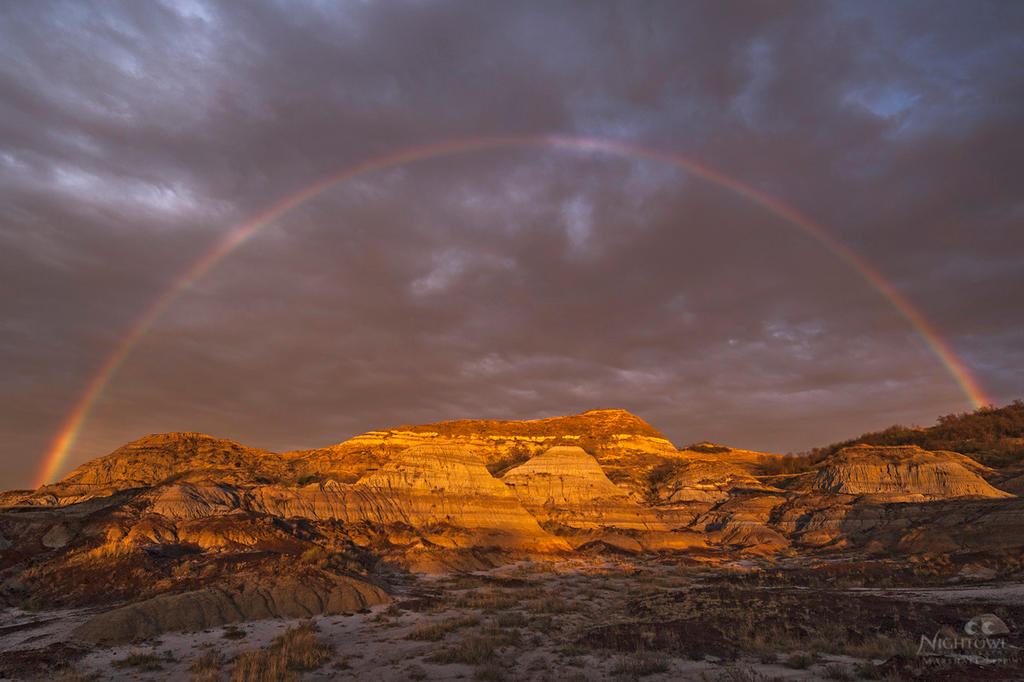
Rainbows are actually less uncommon than you'd think - they can be seen when the conditions are just right, you need only know when to look for them. A rainbow appears when sunlights hits the water drops in clouds or showers, the colors coming from light being refracted back at you. It is also why rainbows can always be found opposite the sun.

You will need a very wide angle lens to capture the whole arc of the rainbow.

Not Quite Dead Yet... by Corvidae65
Badlands Rainbow by MarshallLipp

Up In the Clouds


You need only look outside to see if it's going to be a sunny, cloudy or completely overcast day. A grey overcast day will result in fairly dull images, but if you can wait for the sun to break through or even more dramatic situations, the sky can often produce strong blues and oranges.

To capture that drama, you need to look for the sun peeping out of the clouds and backlighting them. Without this light, the clouds will just appear as a dark mass. The perfect moment might be after a rain storm - though you will need to be patient and wait for that right moment.

Use a sturdy tripod just in case it gets windy. Set the aperture to f/11-f/32 for a deeper depth of field. If possible, use a wide-angle lens.

Souvenir by TonyLeBastard
Cloud Window by CapturingTheNight

Ready For the Storm


In a storm, the light is going to do all kinds of unexpected, weird things - including disappearing so much, that it will be close to impossible to hand hold your camera and still get a reasonable shot. Even when its windy, you're going to have problems with a tripod, but it's worth setting up either way. If you're afraid it won't be stable enough, you can hang something heavy off of it.

To photograph a tempest where parts of the scene are bright and parts are dark, you'll want to set the camera to manual, use center-weighted metering and spot-read on the brightest part of the scene. This allows for the clouds to go dark, heightening the drama between the light and dark areas.

If you're shooting at night, you have a good chance to capture some lightning. However, night and day storms will make the sky impossibly dark and rather difficult to work with. Storms are also very animated - don't expect them to stay still long enough to change camera settings. A good starting point is an ISO-100 and f8 aperture.

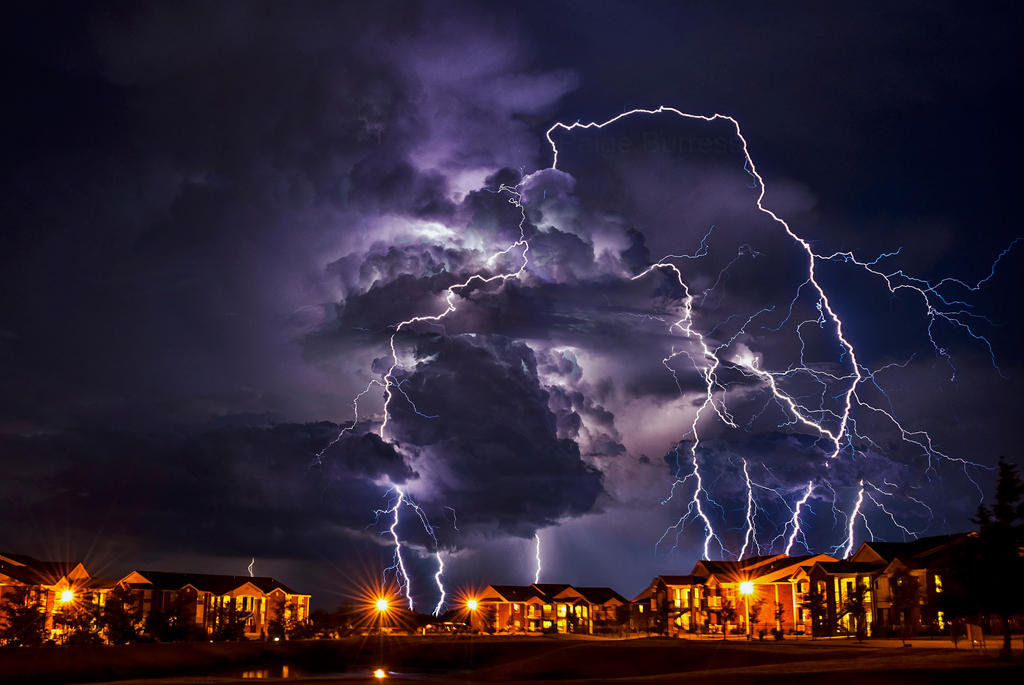
Lightning is usually accompanied by heavy rain that can make it impossible to get a good picture. Photographing lightning from a distance thus works best. Start with an ISO sensitivity at 100, and an aperture setting between f6 to f11. This will vary depending on the intensity of the lightning strike. Increasing the contstrast and saturation settings a bit, can also add more detail and depth to lightning bolts.

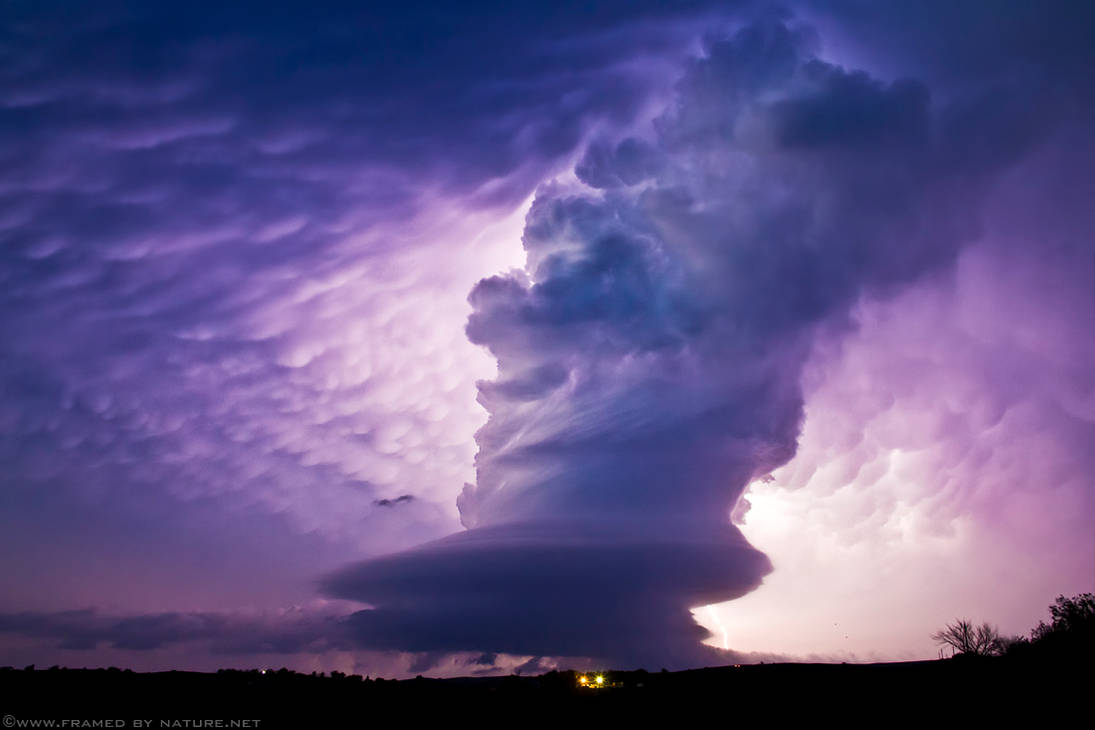
Silhouetted Supercell by FramedByNature
Raining Lightning by PaigeBurress


Sources and useful links:

Nick Rains: Quick Tips For Weather Photography
Amateur Photographer: Top 10 Bad Weather Photography Tips
Exposure Guide: Skyscape Photography Tips
Free Photo Course: How To... Create a Dramatic Dark Sky Effect in Photography
Digital Photography School: Using Sun Flares and Starbursts to Create Stunning Images
Popular Photography: Tips From a Pro: Shoot in the Rain
National Geographic: Taking Photos in the Rain
Light Stalking: Storm Photography Tips

Be sure to keep an eye out for the Weather and Sky interviews, features and tutorials this month at AnimalsPlantsNature :la:


Journal skin by UszatyArbuz
Photo by The-Panic
Comments29
Join the community to add your comment. Already a deviant? Log In
Corvidae65's avatar
Fantastic selection of features and I love the great information too!  Thank you very much for including one of mine among them! :thanks: